Getting Started with Rocket Relay
Setup takes about two minutes: install Rocket Relay, open the Amazon Relay loadboard, and sign in with Google. Refreshing the board and getting new-trip alerts are free. Search and Auto-book are part of Pro, with a 7-day free trial. Here is the whole thing, step by step.
1. Add it to your browser
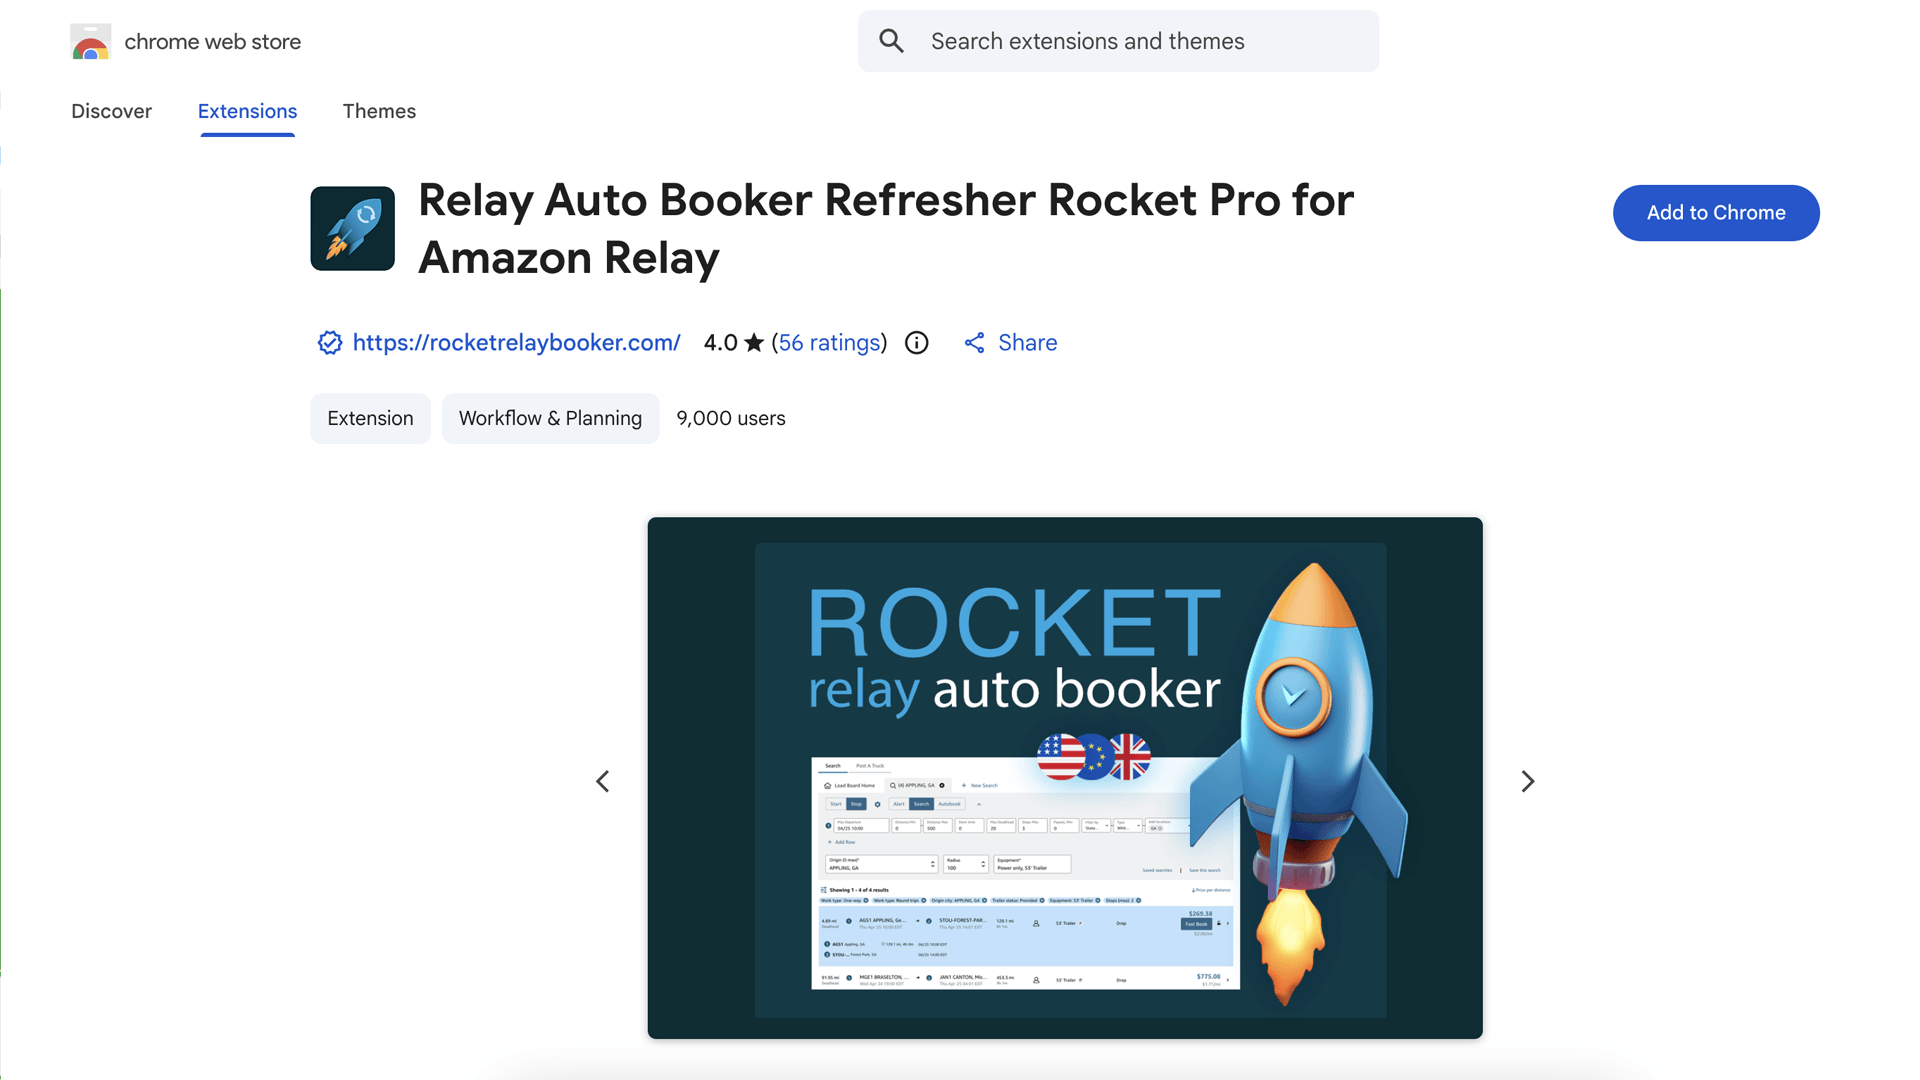
On a computer, open the Chrome Web Store listing, click Add to Chrome, then Add extension.
Rocket Relay works in Chrome, Edge, and Brave on a computer, and on Android (see below).
Installing on Android instead?
Chrome for Android does not support extensions, so install Rocket Relay in an Android browser that does. Use Lemur Browser or Quetta — both add it straight from the Chrome Web Store, with no developer settings or codes. (Kiwi Browser shut down in early 2025 and is no longer recommended.)
Lemur/Quetta
- Install Lemur Browser or Quetta from Google Play.
- Open browser and tap the four-squares icon in the bottom toolbar, then under Extensions Store tap Chrome to open the Chrome Web Store.
- Open the Rocket Relay and tap Add to Chrome, then OK to confirm.
- Open the Amazon Relay loadboard in Lemur and sign in.
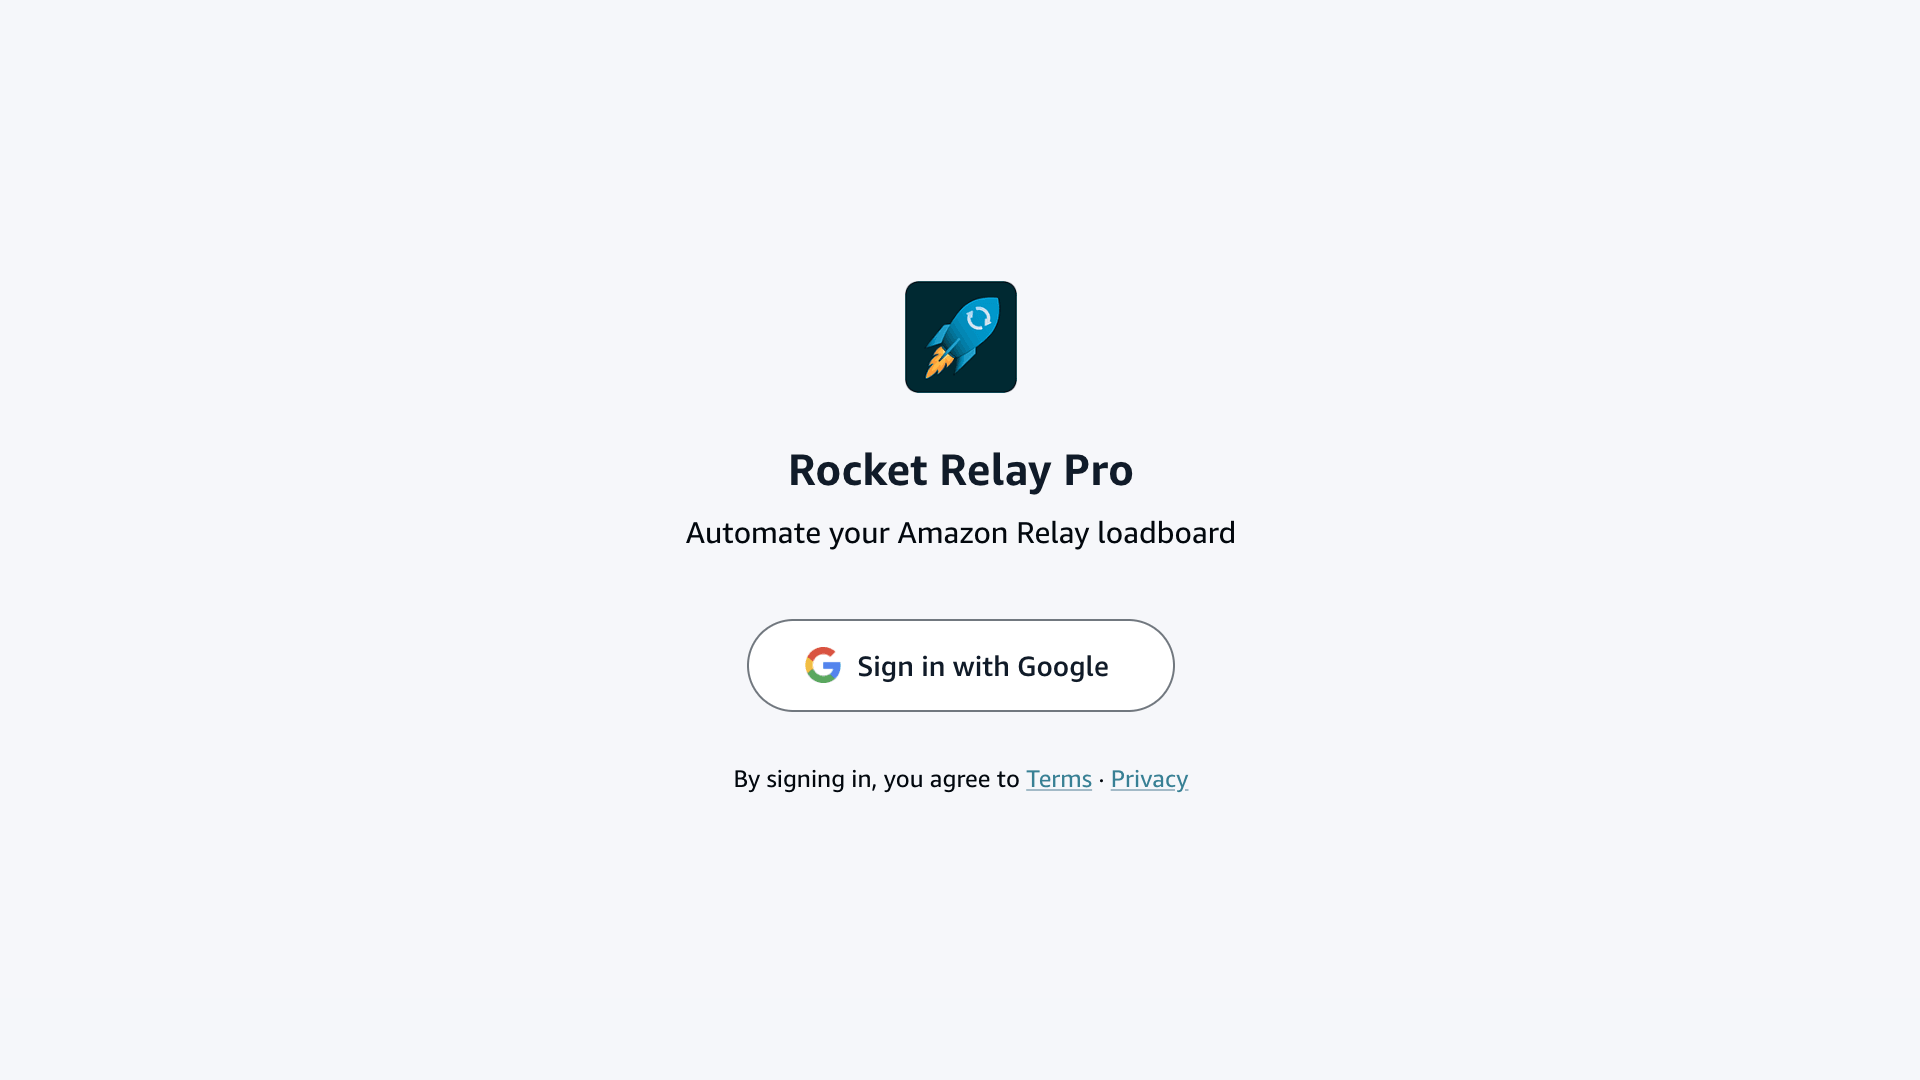
2. Sign in with Google
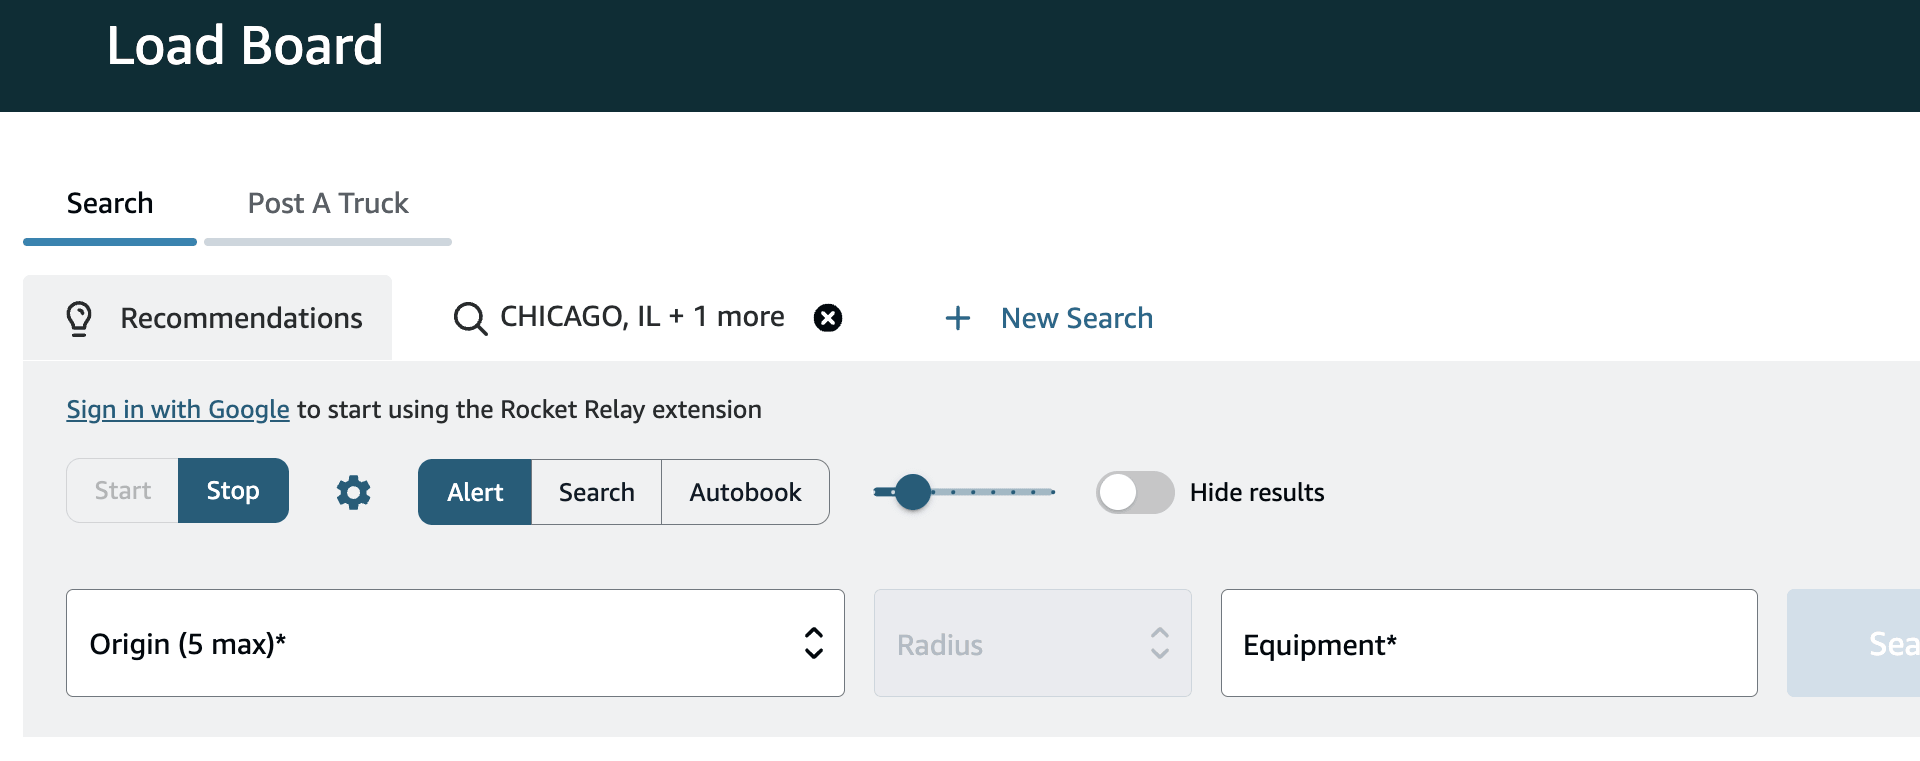
Open the Amazon Relay loadboard at relay.amazon.com/loadboard. The Rocket panel shows up on the page. Click Sign in with Google.
3. Your account and license
Once you sign in, the Rocket settings page shows:
- Your license email (the Google account you used)
- Your License ID (keep this handy if you ever contact support)
- Your plan: Free, Trialing, or Active
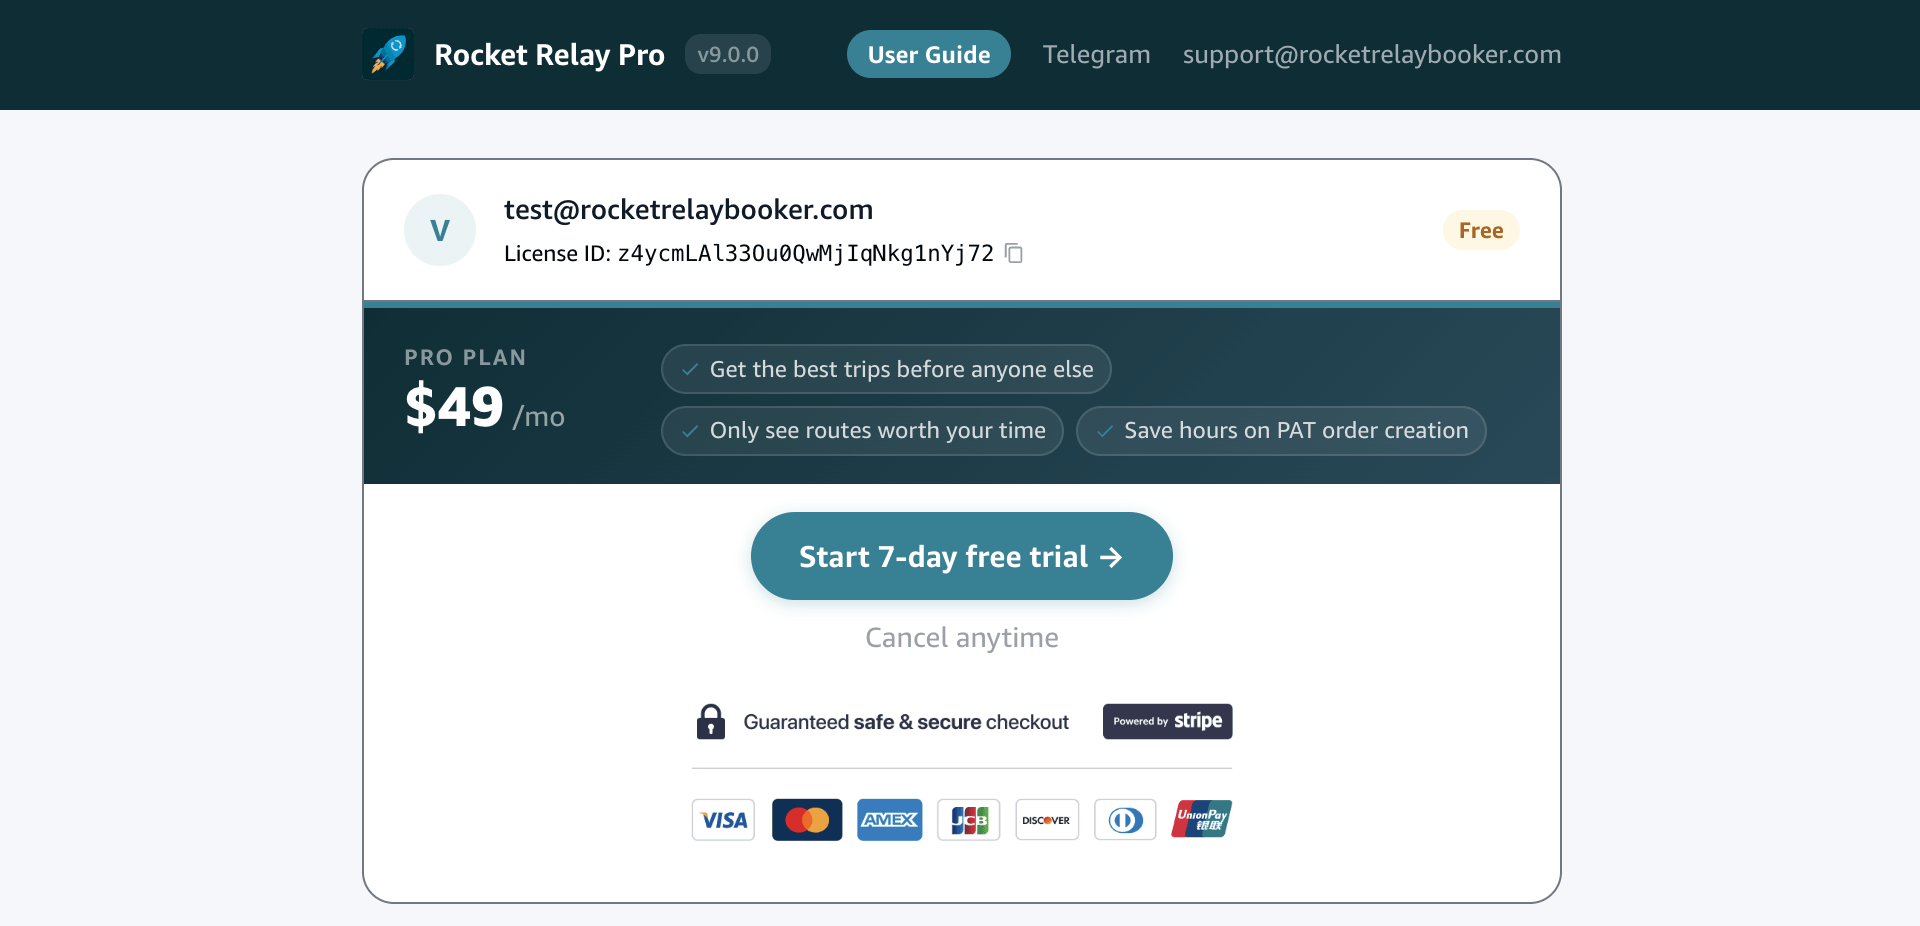
Free lets you refresh the board and get alerts when new trips appear.
Manage or cancel your subscription: open Rocket settings on the loadboard and click Manage subscription — or, even if you’ve uninstalled the extension, open the Stripe customer portal and enter your subscription email to update your card, download invoices, or cancel.
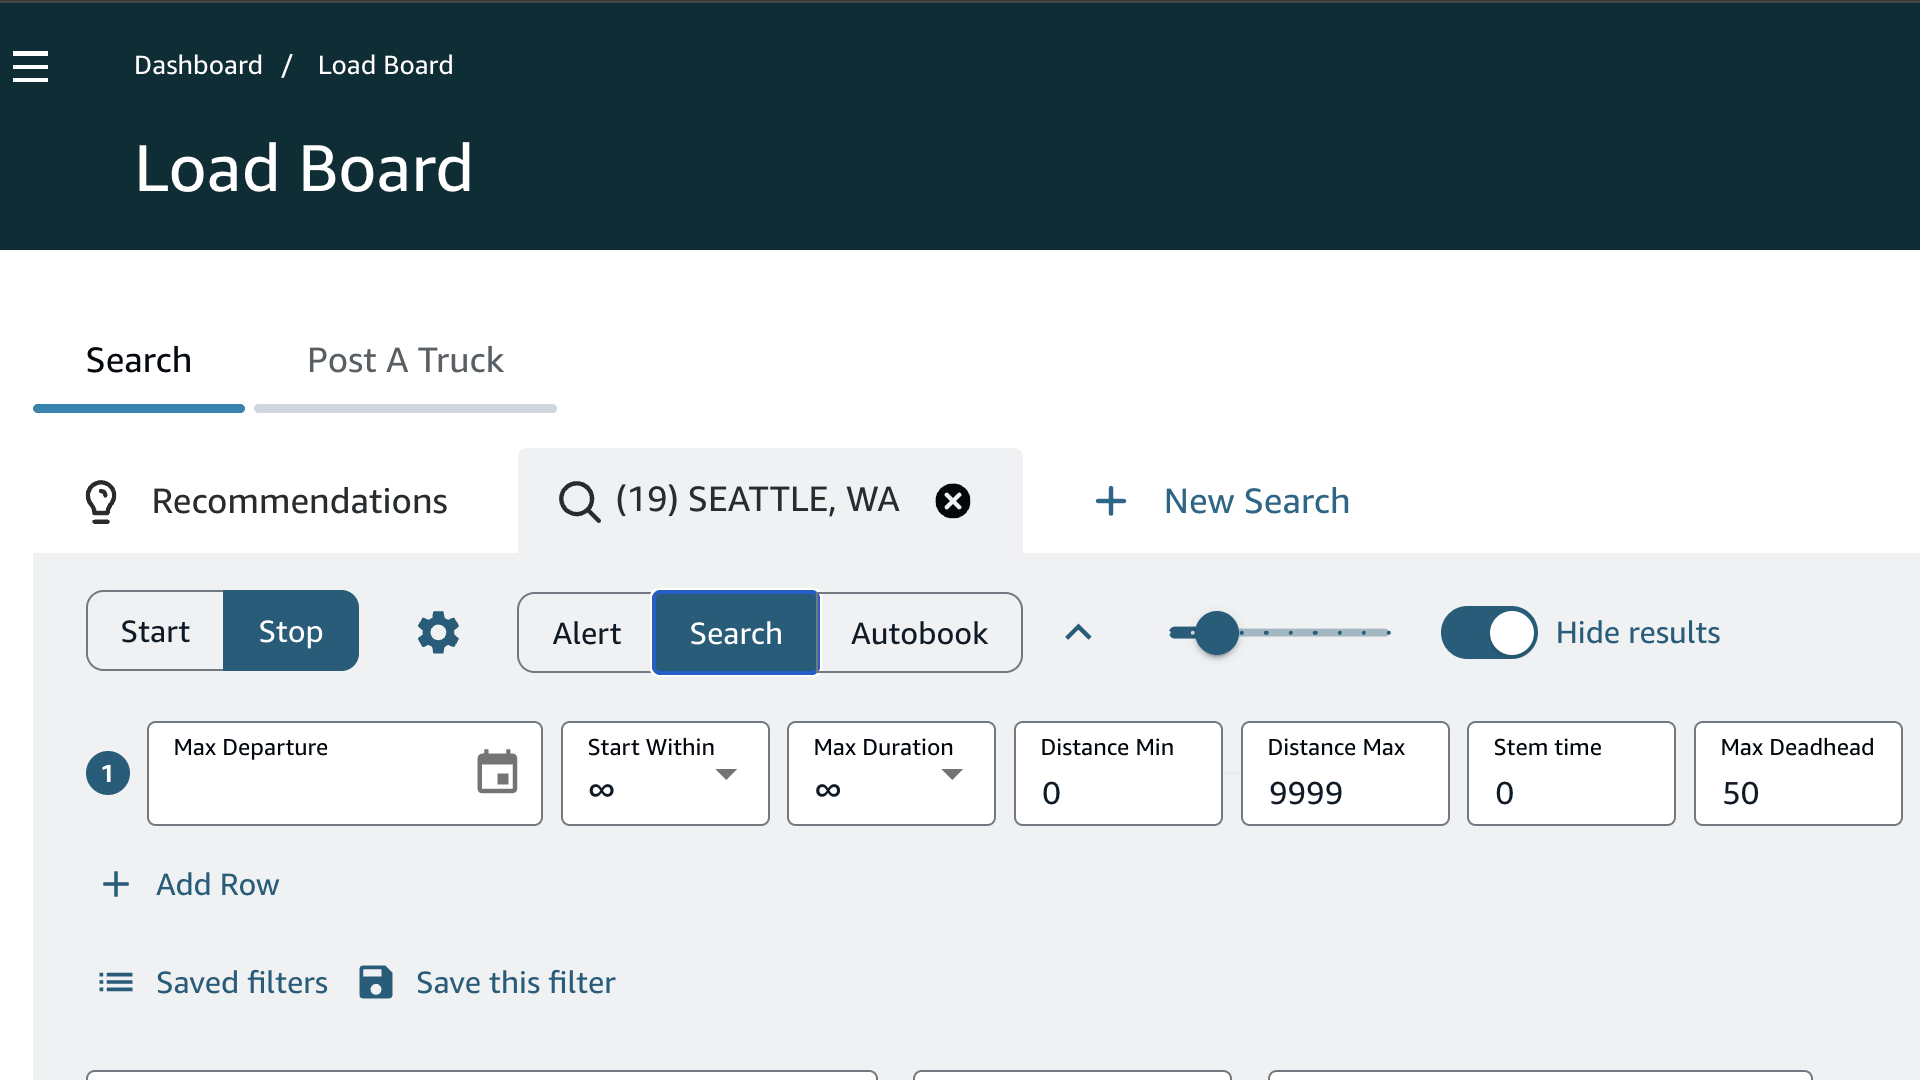
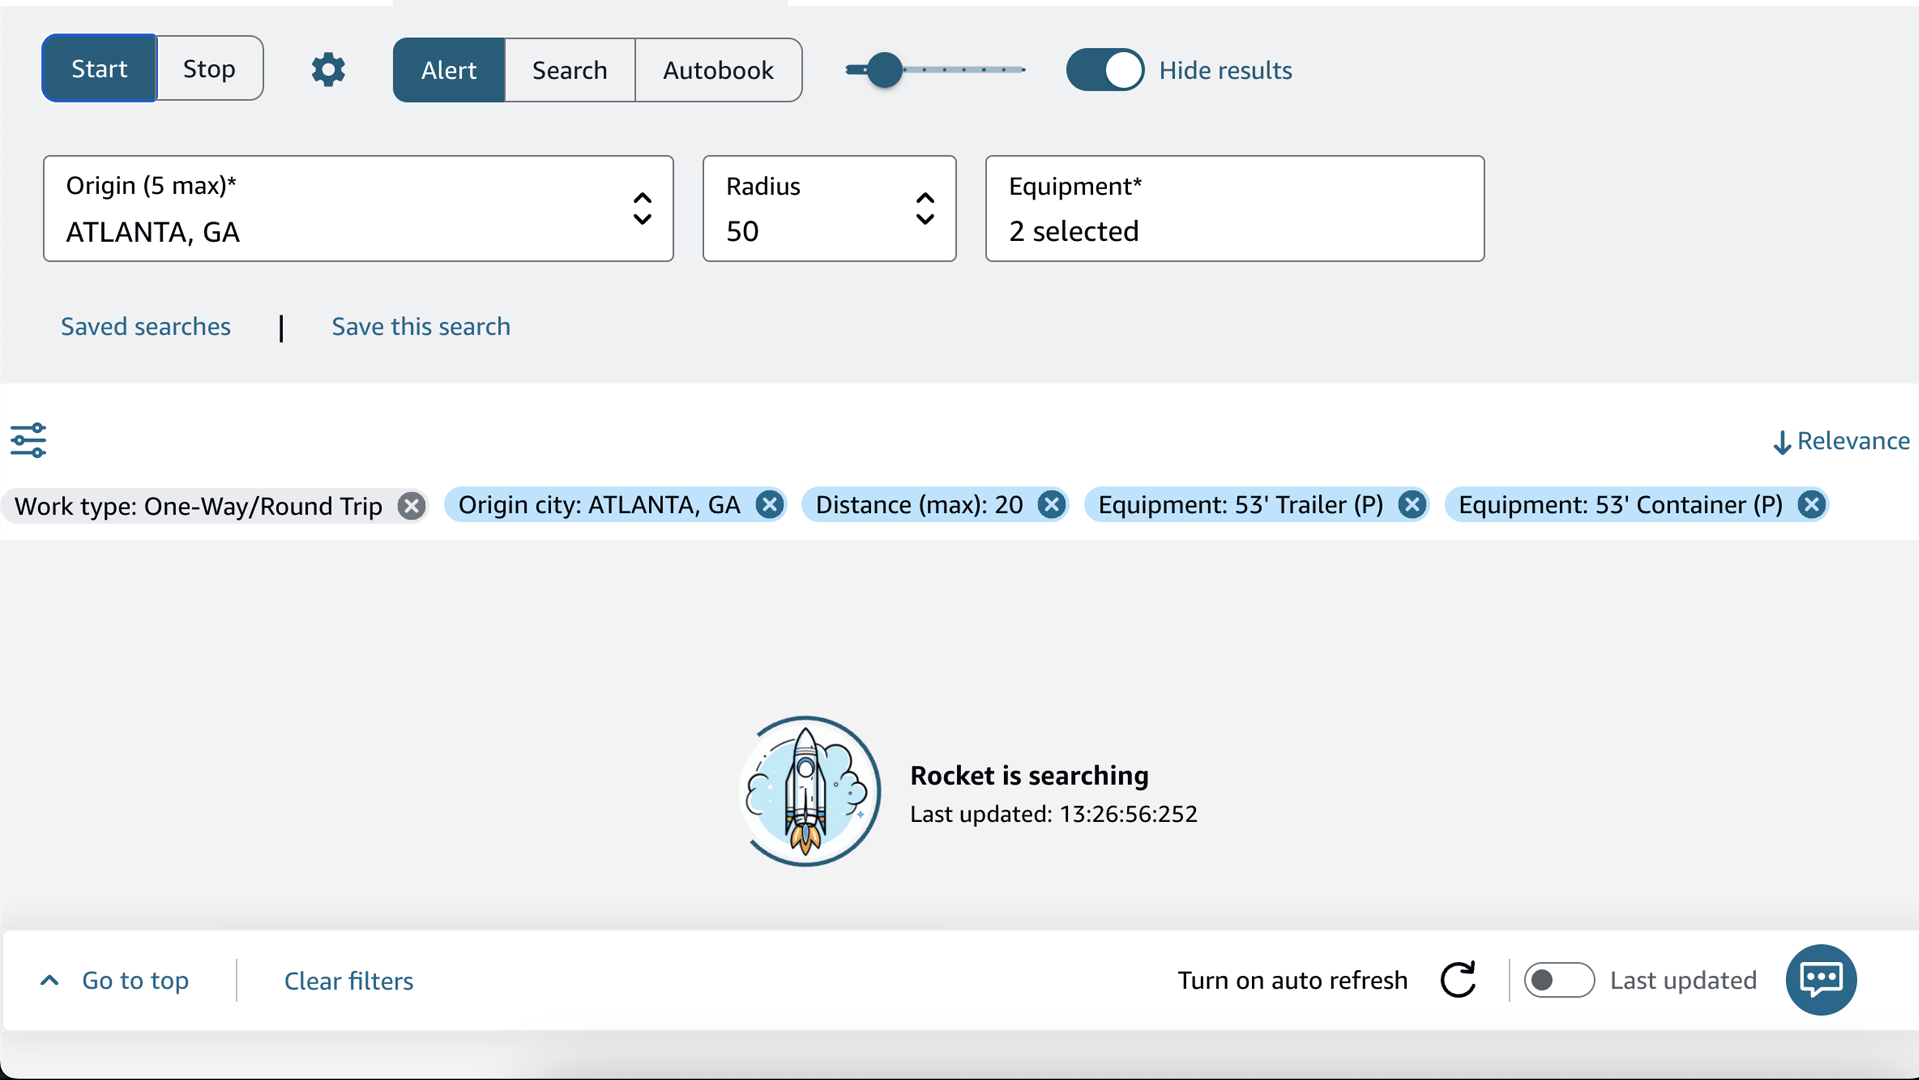
4. The Rocket controls
Back on the loadboard, you will see the Rocket controls:
- A mode selector: Alert, Search, Auto-book
- Start and Stop
- A refresh-speed slider — how fast Rocket refreshes the board
- A Hide results switch — hides the loadboard list while Rocket runs, keeping the page light
- A Settings (gear) icon
- An Expand (arrow) icon that opens the filter row
In Search or Auto-book, you also get:
- Add row (the +) — stack another filter with its own rules
- Saved filters — load a filter set you saved before
- Save this filter — store the current filters to reuse later
Refresh speed: slower is safer
The refresh-speed slider (1–10) sets how often Rocket reloads the board, and slower is almost always the smarter choice. Every refresh is a request to Amazon, all from your one IP address. Push too many too fast and Amazon starts throttling you: the board slows down, you start seeing errors, and it can stop loading the loadboard for a while — often 10–20 minutes, sometimes up to an hour. The faster the slider, the sooner those errors appear.
- Start low (around 3–4) and only raise it if you’re genuinely missing fast-moving loads.
- Avoid running several Relay tabs at once — and if you do, drop the speed, since they share one IP.
- A VPN can clear a block in a pinch, but keep it for occasional use — the real fix is a lower speed.
Hide results: keep the tab light
One of the most useful switches — turn it on for any run you’re not actively watching. While Rocket runs it refreshes the board constantly, and every refresh re-renders the whole list of trips. Over a few hours that’s thousands of re-renders, and the browser tab keeps eating more and more memory until it gets sluggish or even crashes.
With Hide results on, Rocket hides the loadboard list and only draws a trip when there’s an actual new match or a booking — so while you’re not looking at the page, nothing is being rendered and the tab stays light no matter how long Rocket runs. You lose nothing: Rocket still alerts, highlights, and books exactly as normal. Pair it with Hide similar trips in Settings to also cut the number of requests per refresh.
Each mode is explained in Modes: Alert, Search, and Auto-book. The short version:
- Alert tells you when a new trip is posted.
- Search highlights the trips that match your filters.
- Auto-book books the matching trips for you, up to the number you set.
5. Try it free first (Alert mode)
You do not need a paid version to see Rocket work:
- Choose Alert.
- Press Start.
- Leave the tab open. The moment a new trip posts, Rocket plays a sound and pops up a notice.
That is the free plan in action. When you want Rocket to filter and book for you, move on to the next step.
What to do next
- Modes: Alert, Search, and Auto-book →
- All filters explained →
- Filter by location (state, postal code, facility, country) →
- Settings, sounds, and refresh speed →
- One-click FastBook →
- Bulk Post-a-Truck management →
- Is auto-booking safe? →
Stuck on anything? Email support@rocketrelaybooker.com with your License ID and a screenshot, or check the FAQ.